Ceramic Gnome

At a craft fair last year, I ran across a cute vendor booth selling everything gnome. They had all different sizes to choose from but what caught my eye first was a pair of cute little gnomes perfectly sized for a tiered tray. They were only $5 which I thought was a steal so I bought both! Below, you can see one of the gnomes front and center on our spring tiered tray set up.

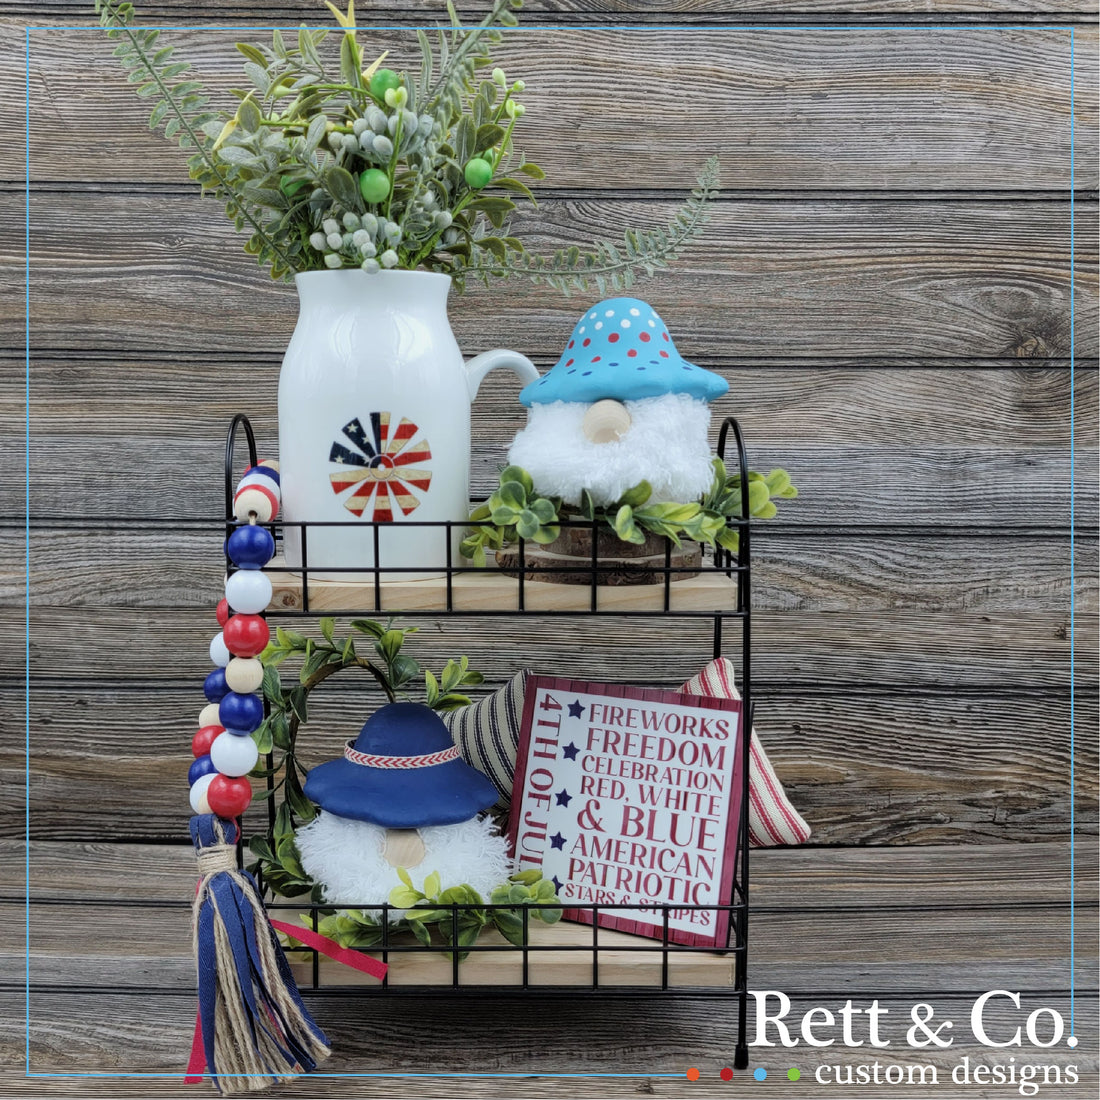
I am probably a bit behind the curve, so I was super excited to discover the little gnome body started out as a mushroom in Dollar Tree! I knew I had the paint colors and sponge brushes at home. All I needed was a few mushrooms, a couple different mop heads for beards and I'd be ready to create new gnomes for my 4th of July tiered tray.

I started out by wiping down the finished ceramic top with alcohol. This step helps the chalk paint adhere better. Next, I painted the bottom portion Sheepskin and the top portion Tranquil Tide. I used 2 coats on the bottom and 3 coats on the top. Be sure to let your paint dry completely in between paint coats or you may experience a little smudging. Fortunately, chalk paint is very forgiving. If your paint does smudge a bit when applying the next coat, simply touch up the area with a dab of chalk paint and allow it to dry thoroughly before starting again.

After the base coat is complete, you are ready to add any additional details. On my first gnome, I decided to add polka dots to the hat to tie in with my 4th of July theme. I used the end of a cotton swab to get similarly sized dots. It also made it easy to switch paint colors!

After the polka dots dried, I created and attached the beard. You may remember, I used the same mop head from dollar tree when creating the DIY Gnomes for the holidays. When cutting our beard, we cut the mop down the center long ways. This way we could keep the long bottom seam as the bottom of our beard. Using this technique, we would be able to cut 8 beards per mop head if we chose to do so.

Important note- there are sewn seams in the mop head. When positioning the beard, keep the sewn seam side at the bottom and the cut line you just created as the top of your beard. If you decide to shorten your beard cut the mop head along the same initial cutline. This way, the bottom of your beard will always remain with a seam giving it extra durability. When trimming the sides of your beard, be sure to fold the mop section back and cut only the base material.

With your beard sized, use a hot glue gun to adhere the beard to the mushroom base directly under the gnome's hat. Again, be sure to keep the seam on the bottom of the gnome and hot glue the open edge to the top. With the beard attached, we carried out minor shaping/trimming to the actual mop head. Last but not least, hot glue your gnome nose on. We used a 20mm wood split bead for ours. First, we separated the beard directly down the middle. Then we glued the nose right under the hat brim. After the glue cooled, we fluffed our beard back over and had a solidly seated, natural looking nose.

Below is our finished project! I have also included our 4th of July tiered tray display with a few additional gnome styles all using the Dollar Tree ceramic mushrooms.


We hope you loved this project as much as we did. Be sure to visit our shop for tier tray items used in this post. Last but not least, please like and share us on social media. We appreciate you following us! ~ Rett & Co.
